The adjustment brush and the graduated filter tool are wonderful additions to Lightroom 2 for making local changes. But there are often quicker ways to make local changes. I will talk about HSL in this post.
In the image below I want to darken the sky. Yes, I can get the adjustment brush, set the exposure to a negative amount, and paint the sky.
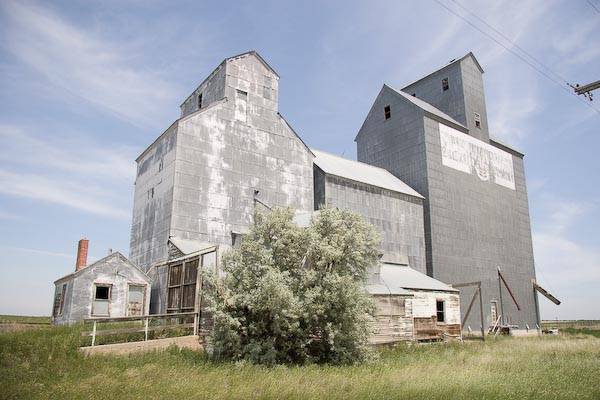
Before
But since the only blue in the image is the sky, it is alot faster accomplish my goal by darkening the blues in the HSL/Color/Grayscale panel: click on HSL, click on luminance (luminance refers to brightness), and slide the blue slider to the left.
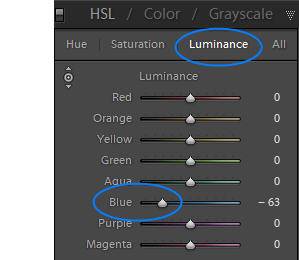
Darkening the Blues in The Image
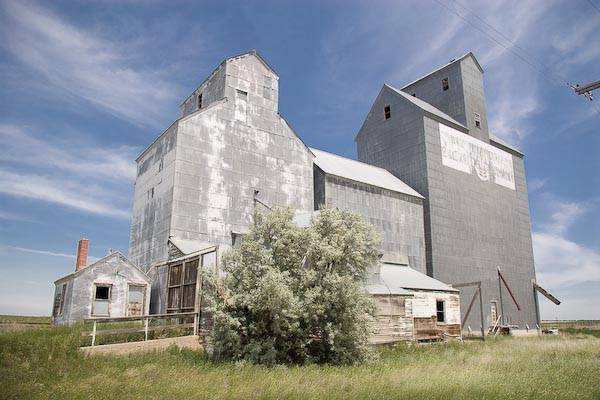
Darkened Blues
Let’s say I now want to saturate the grass and tree more. I can use the adjustment brush with a positive saturation setting, but instead, in the HSL panel I will click on Saturation. I’m not sure if the grass is green or yellow or some combination, so instead of guessing and fooling around with the sliders, I’ll use the handy Targeted Adjustment Tool (TAT). I will click on it, and then click on the grass and drag upwards since I want to increase saturation. I will do this in a few places in the foreground. The TAT detects the colors you are dragging on, and adjusts those throughout the image — in this case increasing saturation of yellows and greens. It works for us here because there are no yellows and greens in the building or sky — otherwise those would become more saturated as well.
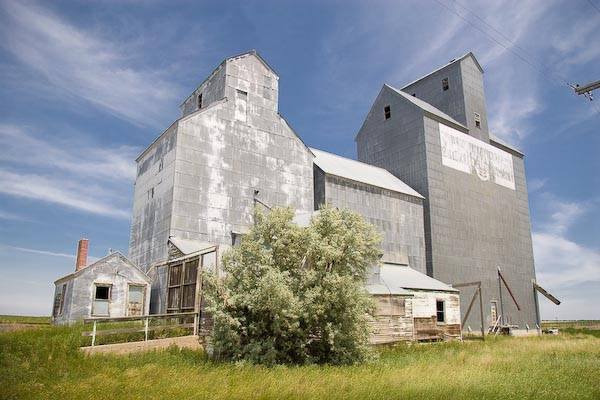
Saturated Foreground

The yellow is a little too saturated for me, but now it is easy to go to the Yellow slider and reduce it a little. Note also that I could have darkened the sky with the TAT as well, clicking on luminance and dragging downward on the sky, rather than using the blue slider.
Finally, I am going to use the Hue component in the HSL panel to change the color of the background in this image:
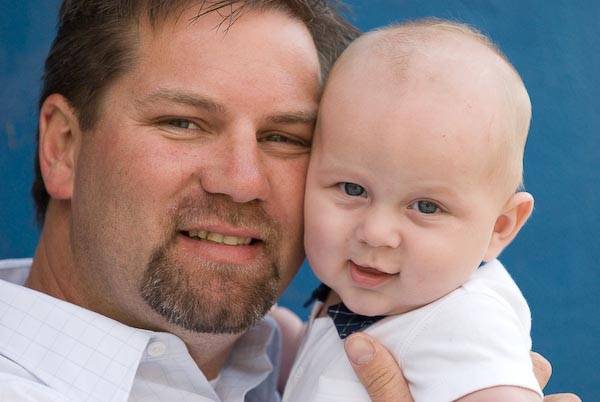
Before
I click on HSL, Hue and the Targeted Adjustment tool, then click and drag up and/or down on the blue background to change the color to something I like. Because there was no blue in the subjects, they are unaffected.
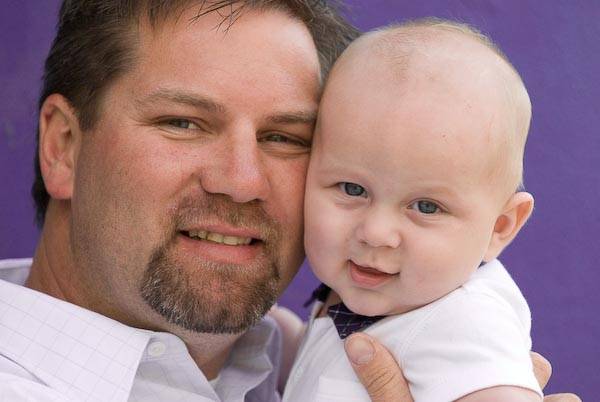
After Hue Change
By the way, if skin is too red, try clicking on saturation, and dragging downwards on the face to take some of the color out. In this case, since purple also contains red, it will change the background a little as well, but that may be acceptable, and a big time saver over working with the adjustment brush.
The key to being able to use HSL to do local adjustments is that the area you want to darken, lighten, increase or decrease saturation of, or change the color of, is made up of colors that don’t exist elsewhere in the image. In my first image, for example, if the building had also been blue, I could not have isolated the sky using HSL. I would have had to use the adjustment brush to specifically darken the sky.
