I wrote this post in early 2009, so I am sure that many of my readers haven’t seen it. I decided to repost it because it is an important concept for digital photographers to understand.
As you may have heard, with digital, unlike film, your goal should be to expose your image as brightly as possible, without blowing out important highlights. In other words, your histogram should be as far to the right as possible without going over the edge. This method is now called ETTR — Expose To The Right.
What is the histogram? It is a graph of the tones in your images, from pure black (blocked up, no detail) at the left edge, to pure white (blown out, no detail) at the right edge.
I recommend that you set your camera to show the histogram next to the image on the LCD screen, so that you can see right away how succesful you are with your exposure.
In this case, the exposure is ok:
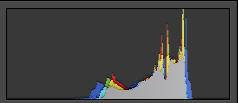
ok exposure
If the subject of the image has no bright tones, the image may look perfect visually. However, opening up a stop and a half gives a better exposure, even if the image looks to bright.
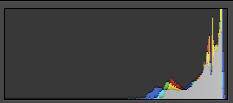
better exposure
Why is this, and what are the consequences of not exposing to the right?
The camera is able to capture much more information in the highlights than in the shadows, so exposing your subject closer to the highlight end will improve your image quality. Particularly down in the shadows, if you zoom in (and turn off any automatic noise reduction in Lightroom or Camera Raw), you will see alot of color noise, and a loss of detail. You will not see this in the highlights. Your camera’s sensor is able to capture up to 2048 different tones in the brightest 20% of the histogram’s range (from light grey to white), while it is able to record only 248 in the darkest 20% (from dark grey to black).
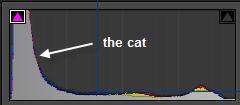
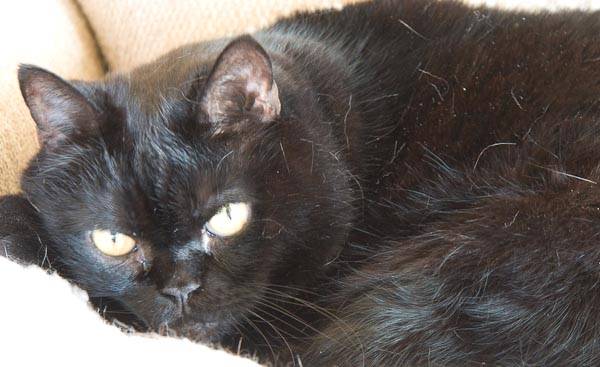
Here’s an extreme example to illustrate what happens in the shadows. This is a perfect exposure of my cat, visually — the cat is black, so I would expect it to fall at the shadow end of my histogram. (If the cat looks like a solid black blob with no detail in the fur, it is your monitor.)
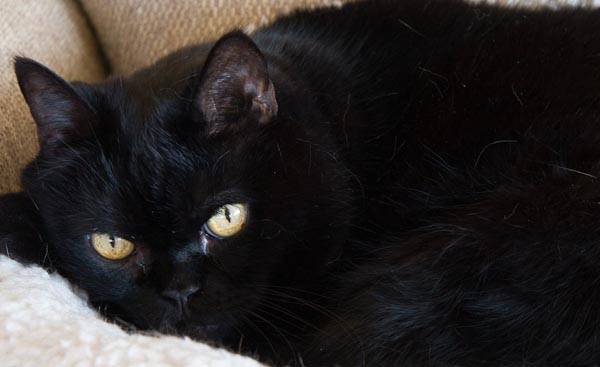
perfect "visual" exposure, cat in the deep shadow tones
But look at this image when I zoom into 200% and focus on the dark fur (I have brightened it drastically so that you can see it more clearly on the web):
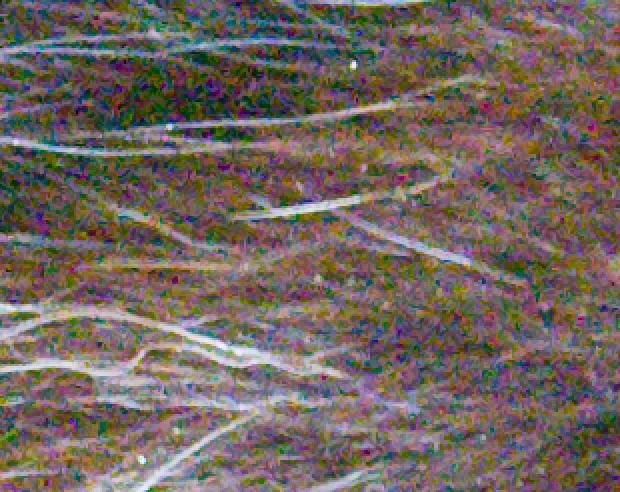
noise and loss of detail in the shadows
If your image is only going to be displayed at low resolution such as on the web or emailed, and what falls in the shadows is supposed to be very dark so you don’t need to brighten it in Photoshop or Lightroom as I have, then the noise won’t show. But if it needs to be brightened (meaning you underexposed it), or you are going to print the image at high resolution, it most likely will.
This image is also one that has a full range of tones from very dark (the cat) to very bright (the white bed), so I can’t increase the exposure to get the cat out of the deep shadows, without blowing out the blanket. But for the sake of the illustration, I would like to pretend that the cat was on a darker blanket, so that there would be room to shift the histogram to the right. (If not blowing out the bed were important, I simply would accept the noisy cat.)
To reduce the noise, I open up one stop in my exposure, shifting the histogram to the right:
Photographed one stop brighter
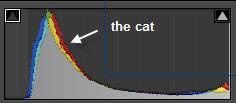
better exposure histogram
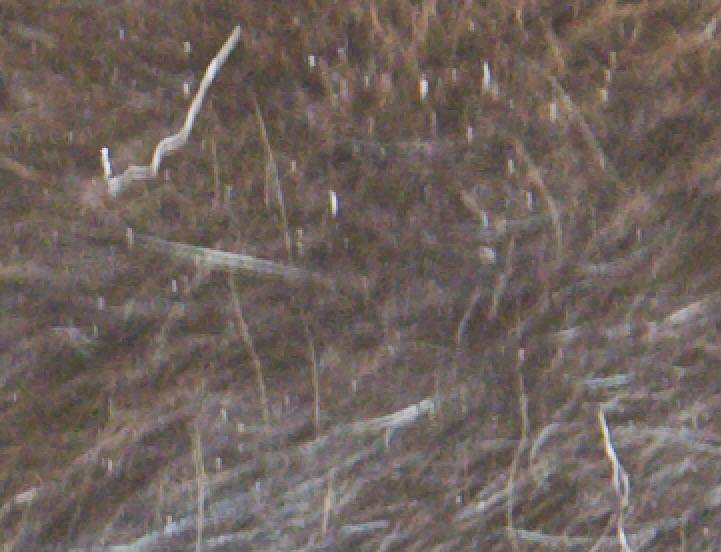
Less noise and loss of detail
(The image is blurrier, simply because it was a slower exposure and my cat insisted on breathing!)
Now in Lightroom or Camera Raw, I simply reduce exposure and brightness to darken the cat:

Darken the image after overexposing it
Zoomed out and at low resolution this image looks the same as my first one, but because it has less noise and more detail in the shadows, it will hold up to a high resolution print, and I can brighten it or adjust it in any way I need to without fear that noise will be revealed.
Once again, my advice to you from all of this is to:
– display the histogram when you are photographing
– expose as far to the right as possible without blowing out important highlights. If you underexpose, don’t think “that’s o.k., I’ll fix it in Photoshop” — if you can, take the time to reshoot.
See also my follow up posts:
The Perfect Exposure, Or When Good Things Don’t Look So Good, The Easy Way to Expose to the Right in Digital Photography
[sc:signup]
