
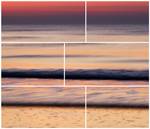
 Here’s an idea for a cool Book photo layout in Lightroom — choose a multi-photo page layout, and use different parts of the same photo in each cell!
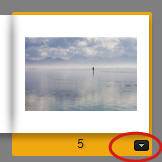
- Select your page by clicking on it, click on the downward triangle and choose a multi-photo layout:
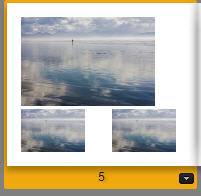
- Drag your single photo from the Filmstrip up into each of the photo cells on the page:
- At this point each photo fits entirely within each frame. To get just a portion of the photo to show, click inside the photo cell, and enlarge it by increasing the Zoom percentage.
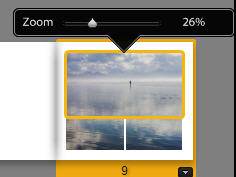
- Then click and drag within the photo to choose which part of the photo should show in the cell. Figuring out what Zoom percentage works and positioning the pieces so that the lines in your photo match up is the part that takes a a little bit — or sometimes a lot — of fiddling with — but it works!
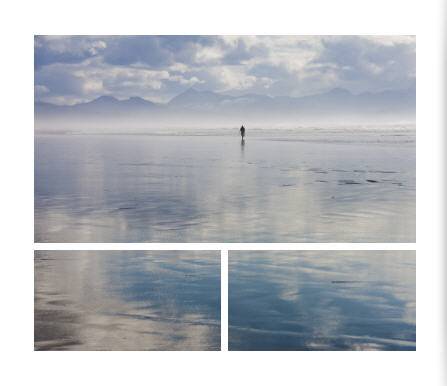
Here’s another example, with a page caption also added (black border not included):

[sc:signup]
Related Posts:
Lightroom 4 Book Module Video Tutorial: Basic Skills
Lightroom 4 Book Module Video Tutorial: Changing and Refining Page Layouts