When I don’t take the time to use a tripod, my horizons are often not straight. Here’s an example:

Crooked Horizon
To fix this in Lightroom, in the Develop Module tool drawer underneath the histogram, click on the Crop Overlay tool (R). Crop options appear beneath it, and a grid is placed over your image.
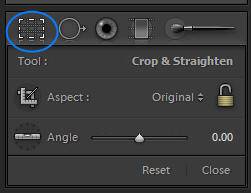
Crop Overlay Tool
Now you have two choices. The first is to rotate the image visually. Hover the mouse outside of a corner of the image until the double arrow appears.
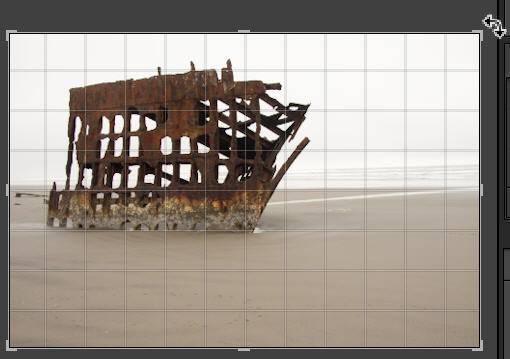
Rotating visually
Click and drag the cursor up or down, aligning the grid with your horizon.
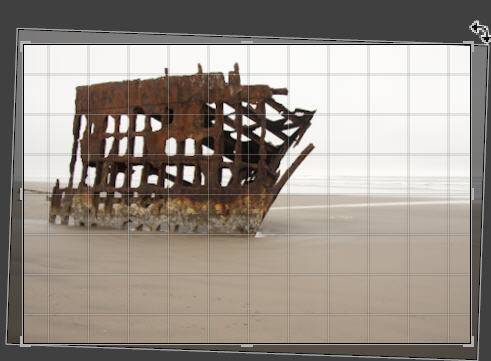
Straightened Image
When you are satisfied, hit Enter/Return or click again on the crop overlay tool symbol to exit crop mode.
The second method is to click on the ruler (i.e. the Straighten tool) in the crop options box to select it, and then click and drag it over your crooked horizon — the whole horizon or just a part of it. Lightroom will calculate how far off from level the horizon is, and rotate the image the proper amount to fix it.
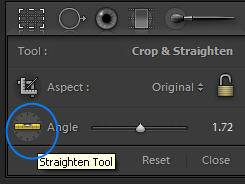
The Straighten Tool
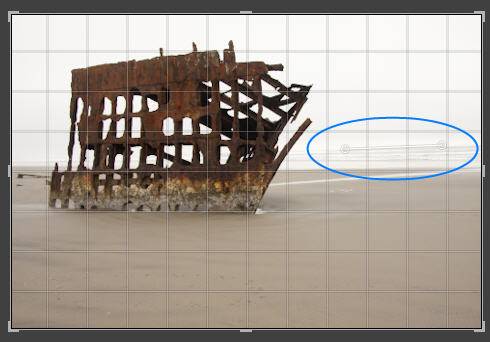
Drawing Along the Horizon with the Straighten Tool
When you are satisfied, hit Enter/Return or click again on the crop overlay tool symbol to exit crop mode.
With either method you do lose part of the image — this is the price you pay for not getting it straight in camera.
You can use the same methods in Camera Raw. The Straighten tool is right next to the Crop tool.


I have a hard time with straight horizons as well – the straighten tool is very nice in Adobe Lightroom. I use it to align other objects with horizontal lines near the image edge, like for a brick wall behind a subject.
Thanks for this.
I ended up using the 2nd option (angle tool) which worked like a charm.
Jack.
You’re welcome, Jack!
[…] Straightening Photos in Lightroom […]
Well done, very clearly illustrated, well explained, excellent instructions. Thanks for taking the time to do this.
I make micro adjustments to straighten the horizon by using my up and down arrows after clicking on the number to the right of the angle slider.
I use ruler to straighten
?? is there short cut to open ruler
Not that I’m aware of, Brian. You can use R to open the crop tool. Check on lightroomqueen.com for Victoria’s complete shortcut list.
Guys, the shortcut is as follows:
when in crop mode (by pressing R), hold control down and the straighten tool will be selected.
I looked for this for months.