When you are working on an image for print, or any application where it will be viewed full size, it is important that you zoom in to 100%, and inspect the entire image for issues that you can’t see when it is smaller. I was working on this image today
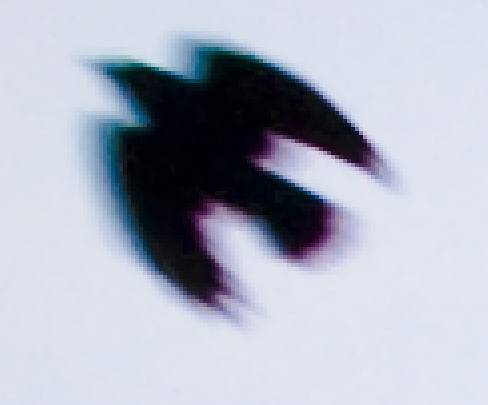
and when I zoomed in to 100% I discovered a red and cyan colored fringe around the bird in the image. Here it is zoomed in to 400% so you can really see it:
This is chromatic aberration. It is is apparent when the camera lens fails to focus all wave lengths of light in the same focal plane. It happens mostly with wide angle lenses (this was shot at 24mm), and closer to the edges of the image frame. In this image I also noticed it in the tree branches towards the edges.
But not to worry: Lightroom, Camera Raw and Photoshop all have tools to align the color channels and remove or at least reduce the fringing. In Lightroom you will find the Chromatic Aberration correction sliders in the Detail panel in Develop. In Camera Raw they are on the lens corrections tab. In Photoshop, you will find them in the Lens Correction Filter (Filter>Distort>Lens Correction).
Simply slide the Red/Cyan slider until the fringing is eliminated or minimized. If you start to see cyan where there was red and red where there was cyan, you went too far. Sometimes you will then have to adjust the Blue/Yellow slider. Below is the the result of my Red/Cyan adjustment. I do see some subtle purple at the back of the bird, but it seems to be the blending of the blur of the bird with the bluish sky behind it.
For a given focal length and lens, the same C/A correction settings should work on other images as well. Consider creating and using a preset to eliminate the need to experiment with the sliders.


[…] 14 bit, 16 bit — What Does It Really Mean to Digital Photographers? She also has an article on Chromatic Aberration that explains it […]